Showing posts with label Rabbit Barn Set-up. Show all posts

Monday, January 24, 2011

Improvements; and the Fun part of raising Rabbits

The cupboard is all painted and finished (Great job, Hubby!!) Pallets underneath hold the sprayer and buckets we need for weighing and keeping big wash brushes handy. Cleaned nest boxes ready for another litter on a pallet stacked beside the cupboard.

Coffee cans and large yogurt contaiers hold extra hair that does have pulled, in case a mother doesn't pull enough to keep her babies warm. Also spray for ear mites, blood-stop powder, eye wash, wheat germ oil dispenser, record cards and pens, snack baggies to put record cards in, scissors, calf manna pellets for new mamas, and germ-x hand cleaner.
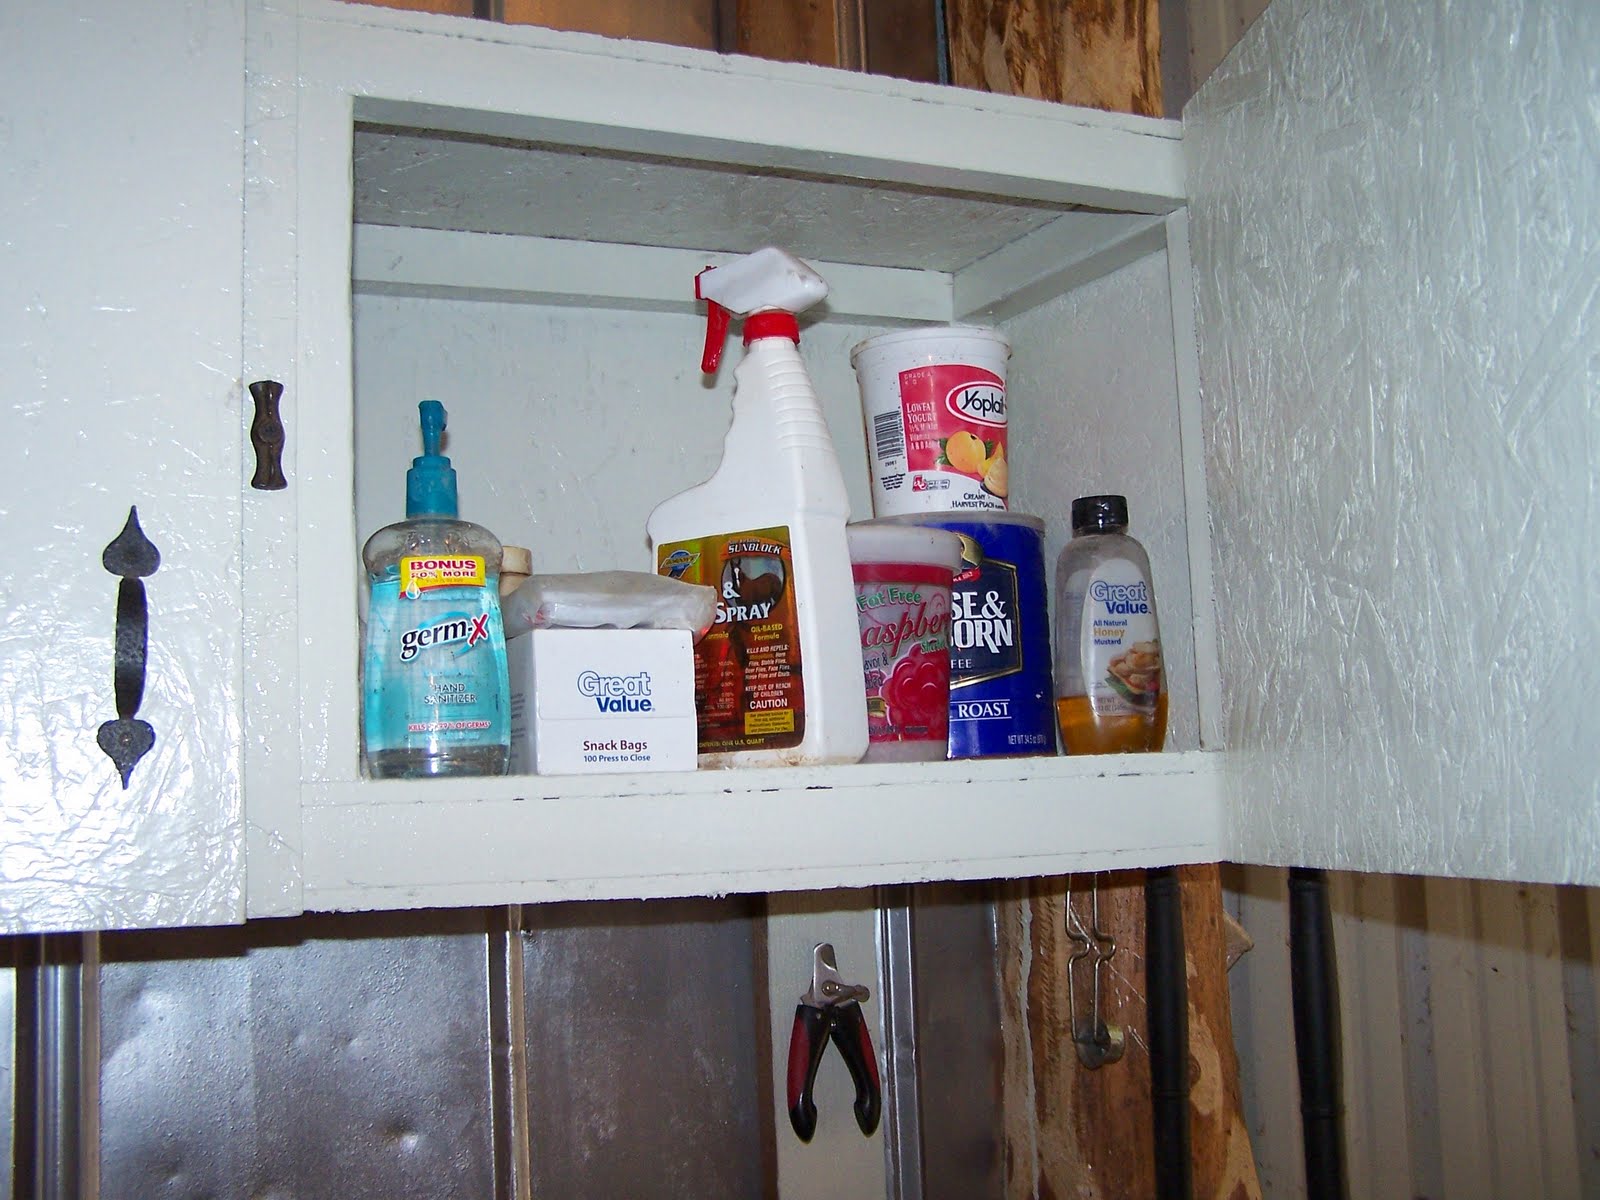

Underneath, nails hold the most used tools, nail clippers, wide putty blade for scraping nest boxes, and barbeque wire brushes; the best for cleaning cages.
Across the isle, my used-to-be dairy weigh scale, with bucket; for weighing fryers at harvest time.

~~~~~~~~~~~~~~~~~~~~~~~~~~~~~~~~~~~~~~~~

Now for the fun part......
Brand new newborns... she had a good litter of 9
... and here is a 2 wk old, just waking up to the world!


Content for now, but not for long.....

These are about 3 wks and getting ready to leave the nest


At naptime they are so cute, some all lined up in a row


These no longer need a nest box, but still grab a snack from Mama


Sometimes a song comes to mind as I watch these little fur-babies!
"Listen.......
Do you want to know a secret?
Do you promise not to tell?
Closer......
Let me whisper in your ear..
Things I know you want to hear..
I'm in love with you!"


"Takin a Dive"
I am glad to be able to have fun with my work :) Is your work this much fun?
It takes a special personality to be able to raise meat animals and then be able to part with them when the time comes.
Speaking of which, the rabbit truck runs this afternoon and I will be parting with about 50 of them. Two weeks from now it will be up to about 80. Meanwhile I have bunnies to wean from their mamas, who will be giving birth again in about another week.
Have fun with your rabbits!

Tuesday, January 11, 2011

Back to bloggin' 'bout the Bunnies

Just when I thought things couldn't get any better .....
Hubby builds a cupboard in the barn for my rabbit supplies.

He does a fantastic job!
Under that he has fashioned a work bench.....
at just the right height for me.
So the whole work area looks like this....
The bench will come in handy for scraping nest boxes, or set a rabbit on for examining or treatment, and there is room underneath for my fly-sprayer and my bucket I use for weighing fryers.
He's so clever. I appreciate all he does to make the work easier for me!

Monday, March 22, 2010

Rabbit-pen wire

Some have asked for sizes of our rabbit pens, how to build and what size wire we used. So I have tried to answer this to the best of my ability.

We order our wire from Klubertanz in Wisconson. You can view their catalog online by clicking on their name.


Hubby makes a double row of cages using two 14' lengths of 1" x 1/2" by 30" back to back, laid flat. Where these make a seam you attach a length of 18" x 1"x 2" with babysaver wire (4' deep) at the bottom to form a common back (cut in whatever length you are working with; we did 14' sections to make a double 7 hole run.) The sides, made from 1"x2"x 18" with babysaver wire at the one edge, are cut 30" front to back. The front wire is one piece, from 1"x2"x 24" bent at an angle with 14" being on the slant and 10" the very front.


Slant front has a hole cut out of 10"x16". The doors then are 14' long by 20" wide, hinged at the topseam, so they can lay back over the pen, and covering the hole and overlapping the sides of the opening, fastened with a spring fastener on the edge toward you. The top is 36" wide and covers both back to back cages ; each cage top being 18" front to back. Our cages are hung from the ceiling with fencing wire (can't remember the gage)


Now..... I add a disclaimer; Any information given here-in is correct to the best of my knowledge, however I will not be responsible for any mis-information. In other words, make sure to do your own math :)


I hope this post is helpful to those who are looking to build a rabbitry of more than hobby size..

Friday, March 5, 2010

Posting on Cage Building Soon ....

I am sorry to take so long in answering about how we built our cage system, but my computer fried like an egg in the hot Arizona sun and I lost alot of the info I had written down.

Thank-you for your patience. I will try to get it done over the week-end. Enjoy your rabbits!

Wednesday, December 30, 2009

Windows Completed in the Rabbit Barn

Hubby had lots of help getting the windows finished up in the rabbit barn. They are hinged at the top and tip outward, allowing for fresh air flow, light, and protection from the elements.


Daughter was a big help getting the curtain material stretched and fastened to the window frames.


There are 4 windows along the east side and 2 on the west.


This is what it looks like on the inside.


This about completes the rabbit barn upgrade. We will put another single row of pens on this side of the barn 6-8' from the wall, making a total of 176 holes (pens) This has been an on-going transformation, from a cattle barn to a proper set-up for commercial rabbit production.

I appreciate my husband's dedication to this project and the opportunity to be able to keep working with animals that benefit not just ourselves but a whole generation of people. There are strict guidelines to follow in order to sell to the medical research community, and medical research is important if we are to find new cures and treatments for diseases.

Friday, November 6, 2009

What's going on in our barn

When I first enter the barn a pleasant sight greets me; a doe cleaning and looking after her babies.


This is a young doe with her first litter, about 3 wks old


Here is one of our older does with her litter of 10


Another with her litter of 8. See the baby on its mothers back?


This doe is pulling hair to make a nice soft nest for her babies. She will kindle (give birth) in a day or two. You can see the hair in her mouth. Click on the picture to enlarge.


Here are more young does that will be ready for breeding in Dec. They are raised 2 in a pen until breeding age.


Can't forget the boys ........ There are 12 of them but these 2 are my favorites.
This is JMJ3, one of the younger ones


And this is our Grand-papa, Mr Big. He was the first buck when we started raising commercial rabbits.


He has a face only a mother could love, but has nice, fast-growing babies!


Hubby has finished the last wall, getting ready to put in the windows. This will keep the cold out and let light in.


A whole double row of cages, cleaned, and waiting to grow out the young. It gets real busy when the pens are all full.


Thanks for stopping by. Leave us a comment. We always try to answer.

Friday, June 19, 2009

Time for a rest.... and fans in the barn

With the heat of summer coming on , we are slowing down our breeding schedule and allowing the does more time between litters. They need this time to gain condition, as when the heat rises they don't eat as much as in cooler weather.
Besides this. we are taking the nessessary steps to try to keep them unstressed from the heat.


We have cleaned all the fans and made sure they are in good running condition. That meant taking off the grill covers , air hosing all the accumulated hair, scrubbing them. air hosing the motor parts and washing the blades and entire casing., and putting them back together. There are 4 fans (24" square box) hung from the ceiling, all blowing the same direction to cause air flow through out the barn. We also use a 42" barn fan on the floor to move damp air out of the barn. This one needs cleaned of the hair accumulation every week.


These fans, plus the insulation put up last winter to block the heat from the metal roof, should keep it much cooler. We are hoping for at least 10* cooler than the outside temp.
You can see the temp gauge on the pole at the right of the last picture. The goals are, keep a lesser number of fryers per cage, keep the air moving , but not blowing on the rabbits, check nest boxes often for expired bunnies and for dampness, feed often but not let feed sit in feeders more than 12 hrs, make sure all water nipples stay in good working order, and allowing more time between breedings.

Saturday, April 25, 2009

The next step.....

We have started to cut the openings in the top quarter of the side-walls in the rabbit barn. Each section, like the one in this picture, will have a tilt-out frame, covered with white poultry curtain material, and hinged at the top.

They will be opened for air circulation, yet shade the direct sun's rays while allowing light in. In winter they can be closed , or partially closed while still allowing daylight in. This should be very advantageous in allowing the rabbits a more natural, day-night transition. That, coupled with the insulation, may allow us to breed the rabbits further into the heat of the summer, and start up breeding again in the early fall.

We are always seeking to improve on the quality of care for our animals. If anyone has further suggestion, we are always open to comments and ideas. Let us hear from you, especially from other parts of the country, or even other parts of the world. Tell us what your "hare-raising " experiences are like!

Wednesday, February 25, 2009

No more water-bottles

Three double rows of cages, all on the automatic water system. What a time saver!

The flush valves at the ends of the rows. This is needed to flush the water system so the lines stay clean and the water fresh.

Bracing is up for the third and last part of the building. This is needed to hang the cages from. There can be as much as 40#'s + of rabbits per cage by the time they reach fryer stage.


Monday, February 9, 2009

Progress is on-going.....

Much progress has been made on the rabbit barn. Now we have 3 double rows of new cages completed and hooked up to the automatic water supply, the 3rd row having just been completed today.

We have moved all the rabbits to the new pens; one-hundred-fourteen 24" x 30" new cages in all. We still have a third of the barn to go. My husband has worked very hard to get this much completed in such a short amount of time.


I am very proud of the water system hubby designed and installed. On the lower left where the water comes in from a hydrant below, there is a 2 1/2 gal. water heater, which serves to keep the circulating water just above the freezing point. Water travels from that to a circulating pump and in turn to a medication unit if needed.


The water either by-passes the medicator or not, depending on which line it is directed through. In the picture we were experimenting with adding apple-cider vinegar to the water, which is healthful to most animals as well as humans. I give it to the chickens and used to put it in the dairy goats' water when we had them.
It is so good to have the water on an automatic system. It is always fresh and there will be little bacteria build-up, which will be alleviated by flushing the lines periodically. That precious commodity called time can be used for observing the rabbits more closely and doing other needed upkeep. As far as insulating the barn we have had as low as 9* this winter and the water bottles did not freeze. We are hoping the insulation also does its job in helping to keep the barn a bit cooler in the heat of the summer. I hope to hear from others who have added insulation to their rabbit facility.